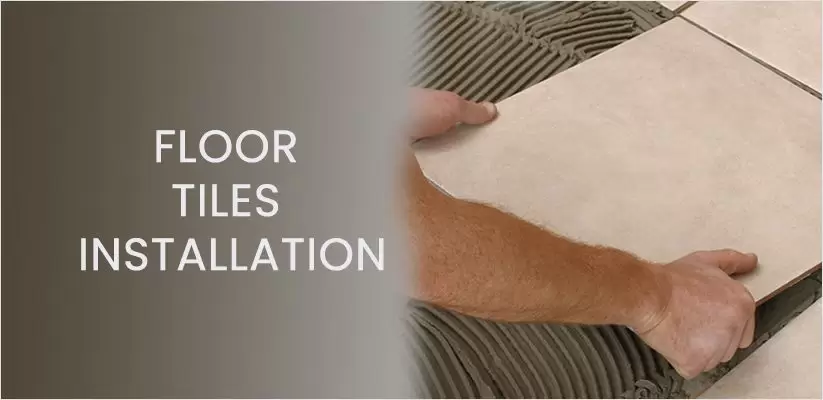
The Step by Step process of laying floor tiles –
Floor tiles are one of the most common things in a household, and it plays a huge part in enhancing the look and feel of the space, despite that many of us have don,t know how floor tiles are laid.
Post your Requirement
Below you will find the steps that one must follow in the installation of floor tiles.
- Calculate the required quantity.
- Surface cleanup.
- Getting the mortar ready
- Tiles placement process
- Sealing the gaps
- Curling
Let’s read about the steps in detail.
-
Calculate the required quantity:
First of all the tile quantity is calculated with an additional wastage of 5% to 10% depending on the design of the tiles.
-
Surface cleanup.
The next stage includes the removal of the existing tiles and making a clean surface. In case of any holes or gaps additional cement is added to make the surface flat to receive the floor tiles. In many cases, the tiles are fixed with adhesives on the existing floor if the floor is suitable to carry the dead load of the tiles.
-
Getting the mortar ready
Once the floor is cleaned the starting tile is marked and located and the leveling of the floor surface is done. The mortar mixture is made such that the quantity is only enough for tiles to be paid within 15-20 minutes otherwise the mixture will dry.
-
Tiles placement process
The tile laying starts and no one is allowed to walk on the tiles for at least 24 hours. Plastic spacers are used between the tiles so as to have even grout lines. The tiles are repeatedly cleaned with a sponge and water so that the cement does not deposit on the tiles.
-
Sealing the gaps
After the laying of tiles is done the skirting is fixed on the wall. All the gaps in the floor tiles are filled with grouts resembling the color of the tiles or in contrast color. After grouting sealants are used to seal all the gaps.
-
Curling
The tiles are then cleaned, finished, and ready to use. Curing tiles for a week is recommended to strengthen the bond between the tiles and cement.


Post A Comment